Please note:
The charging current decreases as the cable length increases. Therefore, we do not recommend using this cable to charge your VR headset.
If you require assistance, please don't hesitate to reach out to us. We are happy to help!
To activate your warranty, please submit a screenshot of your purchase confirmation to support@syntechhome.com, with the email subject line: "12 Month Warranty Registration and Product Support for Syntech USB-C to HDMI Adapter". Once received, your warranty will be promptly initiated.
Should you require any assistance or have questions, please feel free to reach out to us. We are dedicated to providing comprehensive support to our customers.


Connection Instructions:
- Begin by downloading and installing the Meta PC software on your PC.
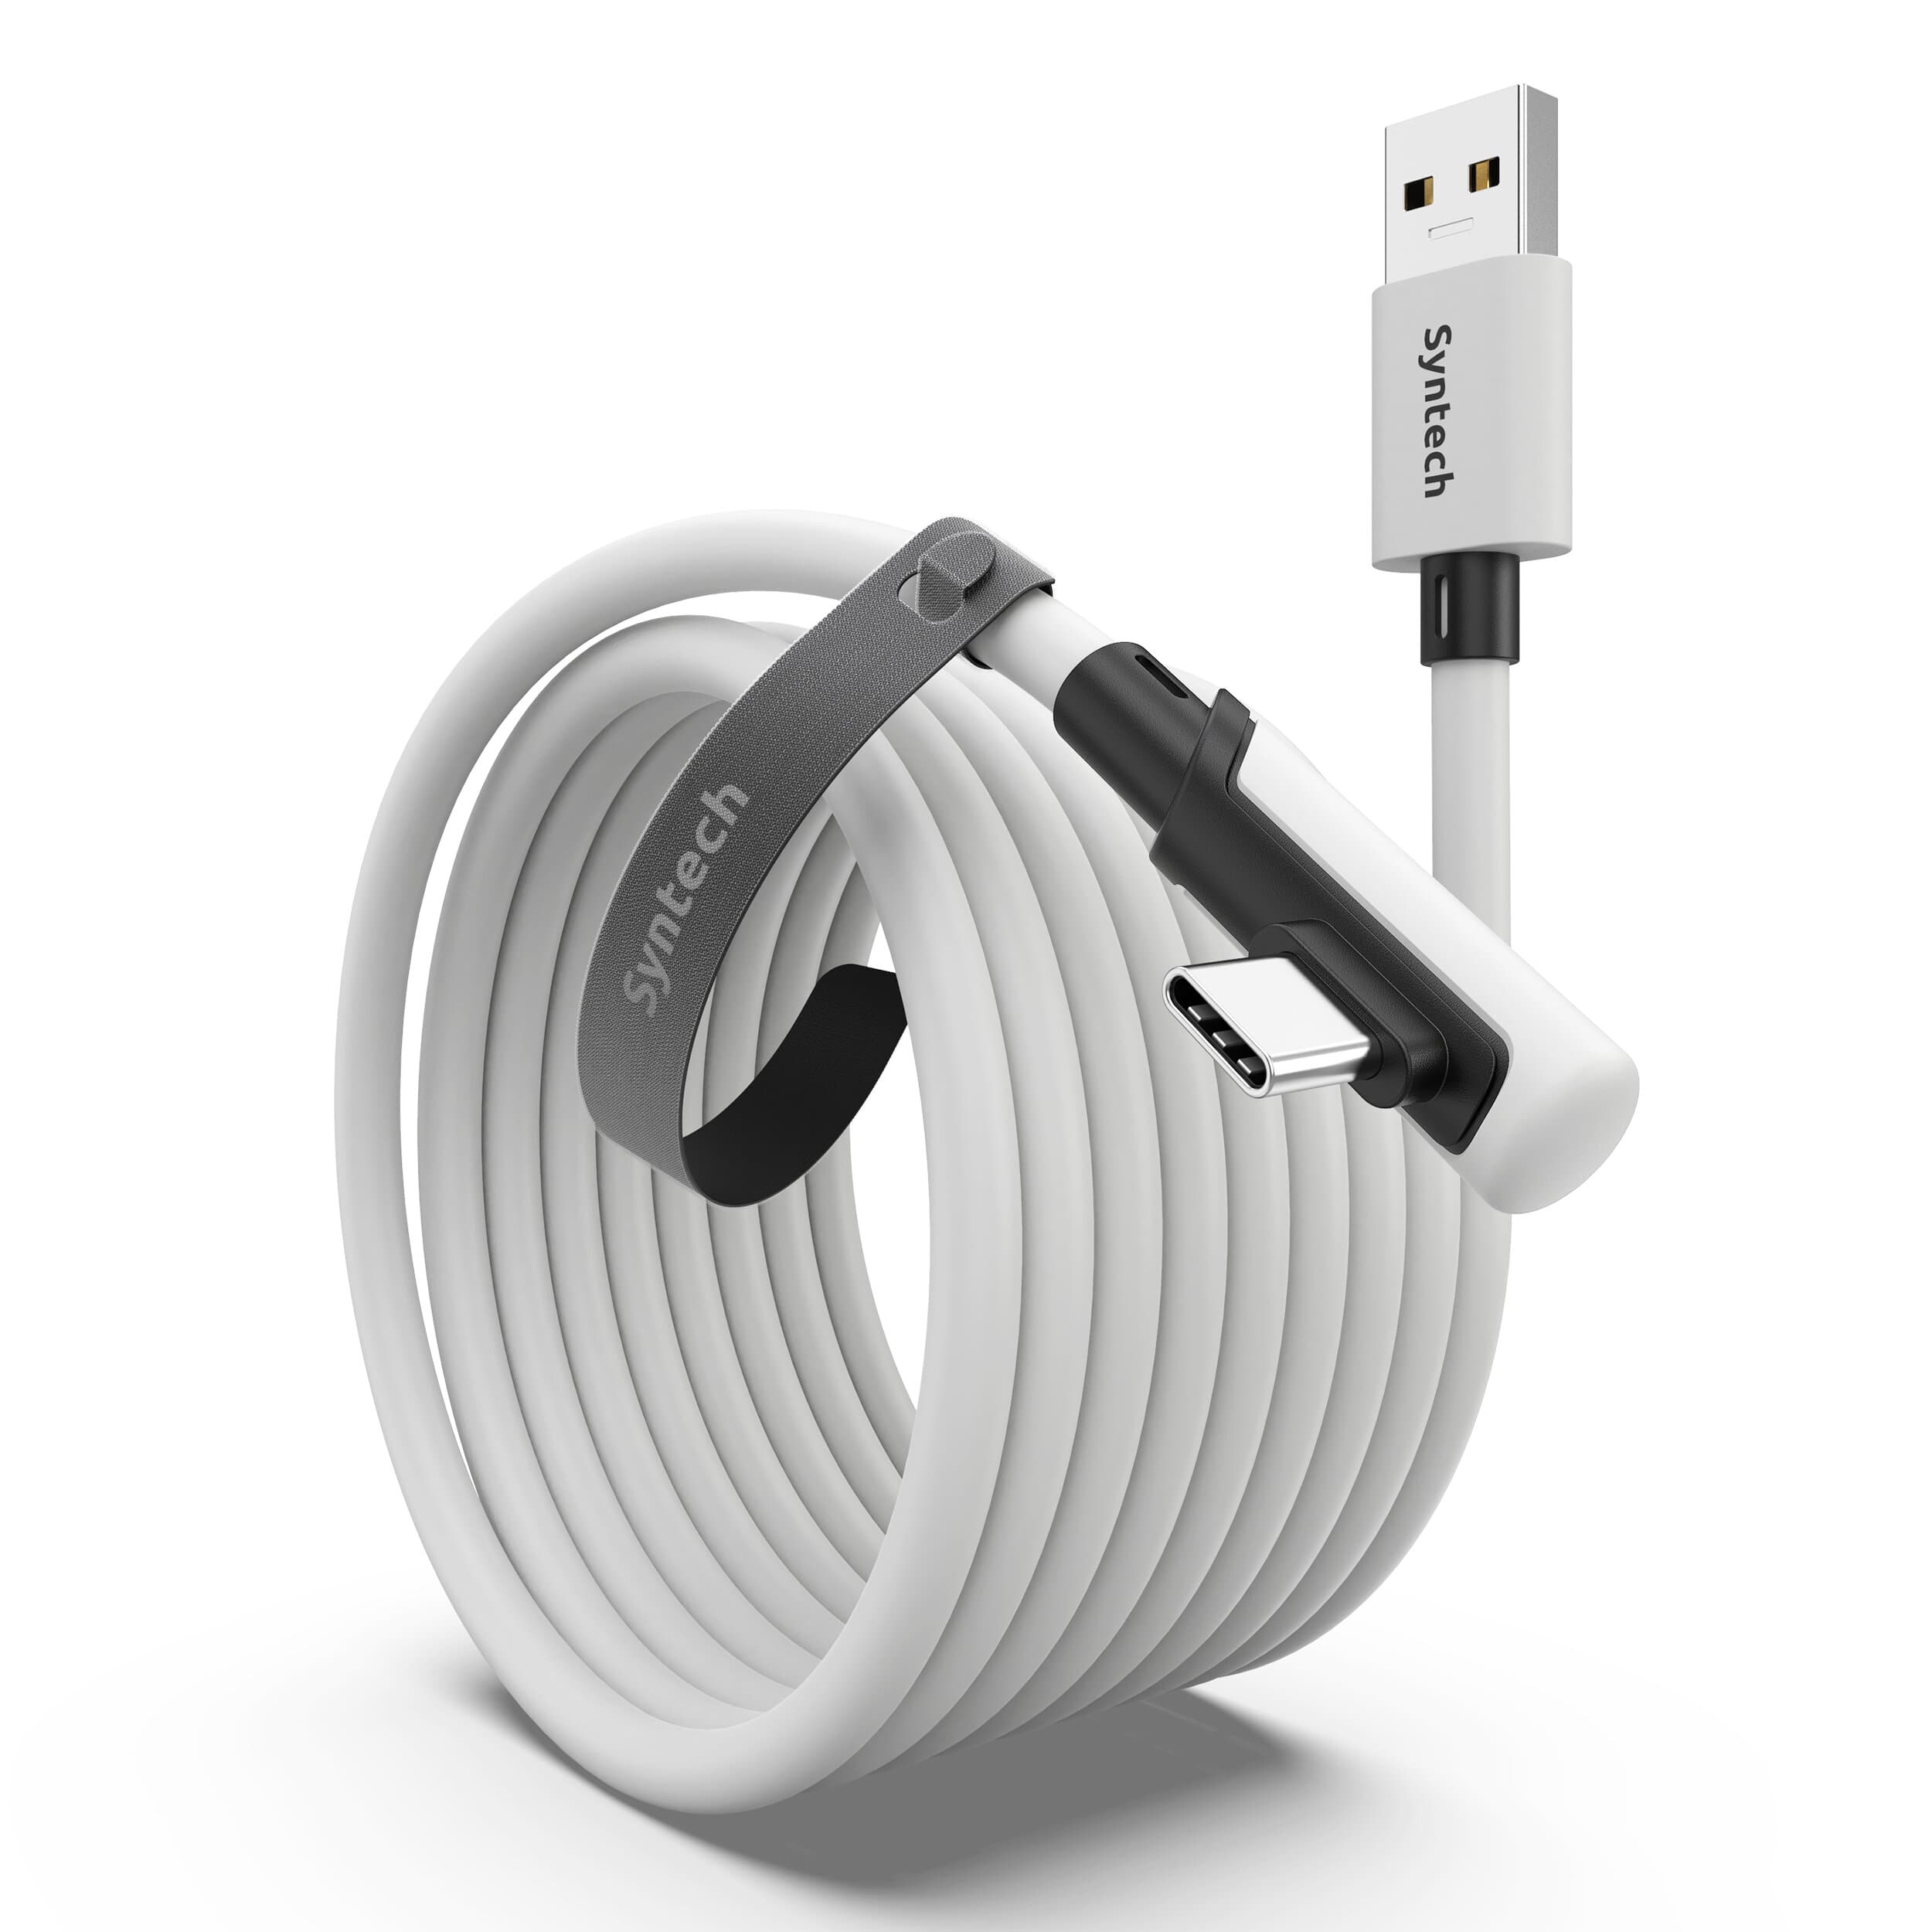
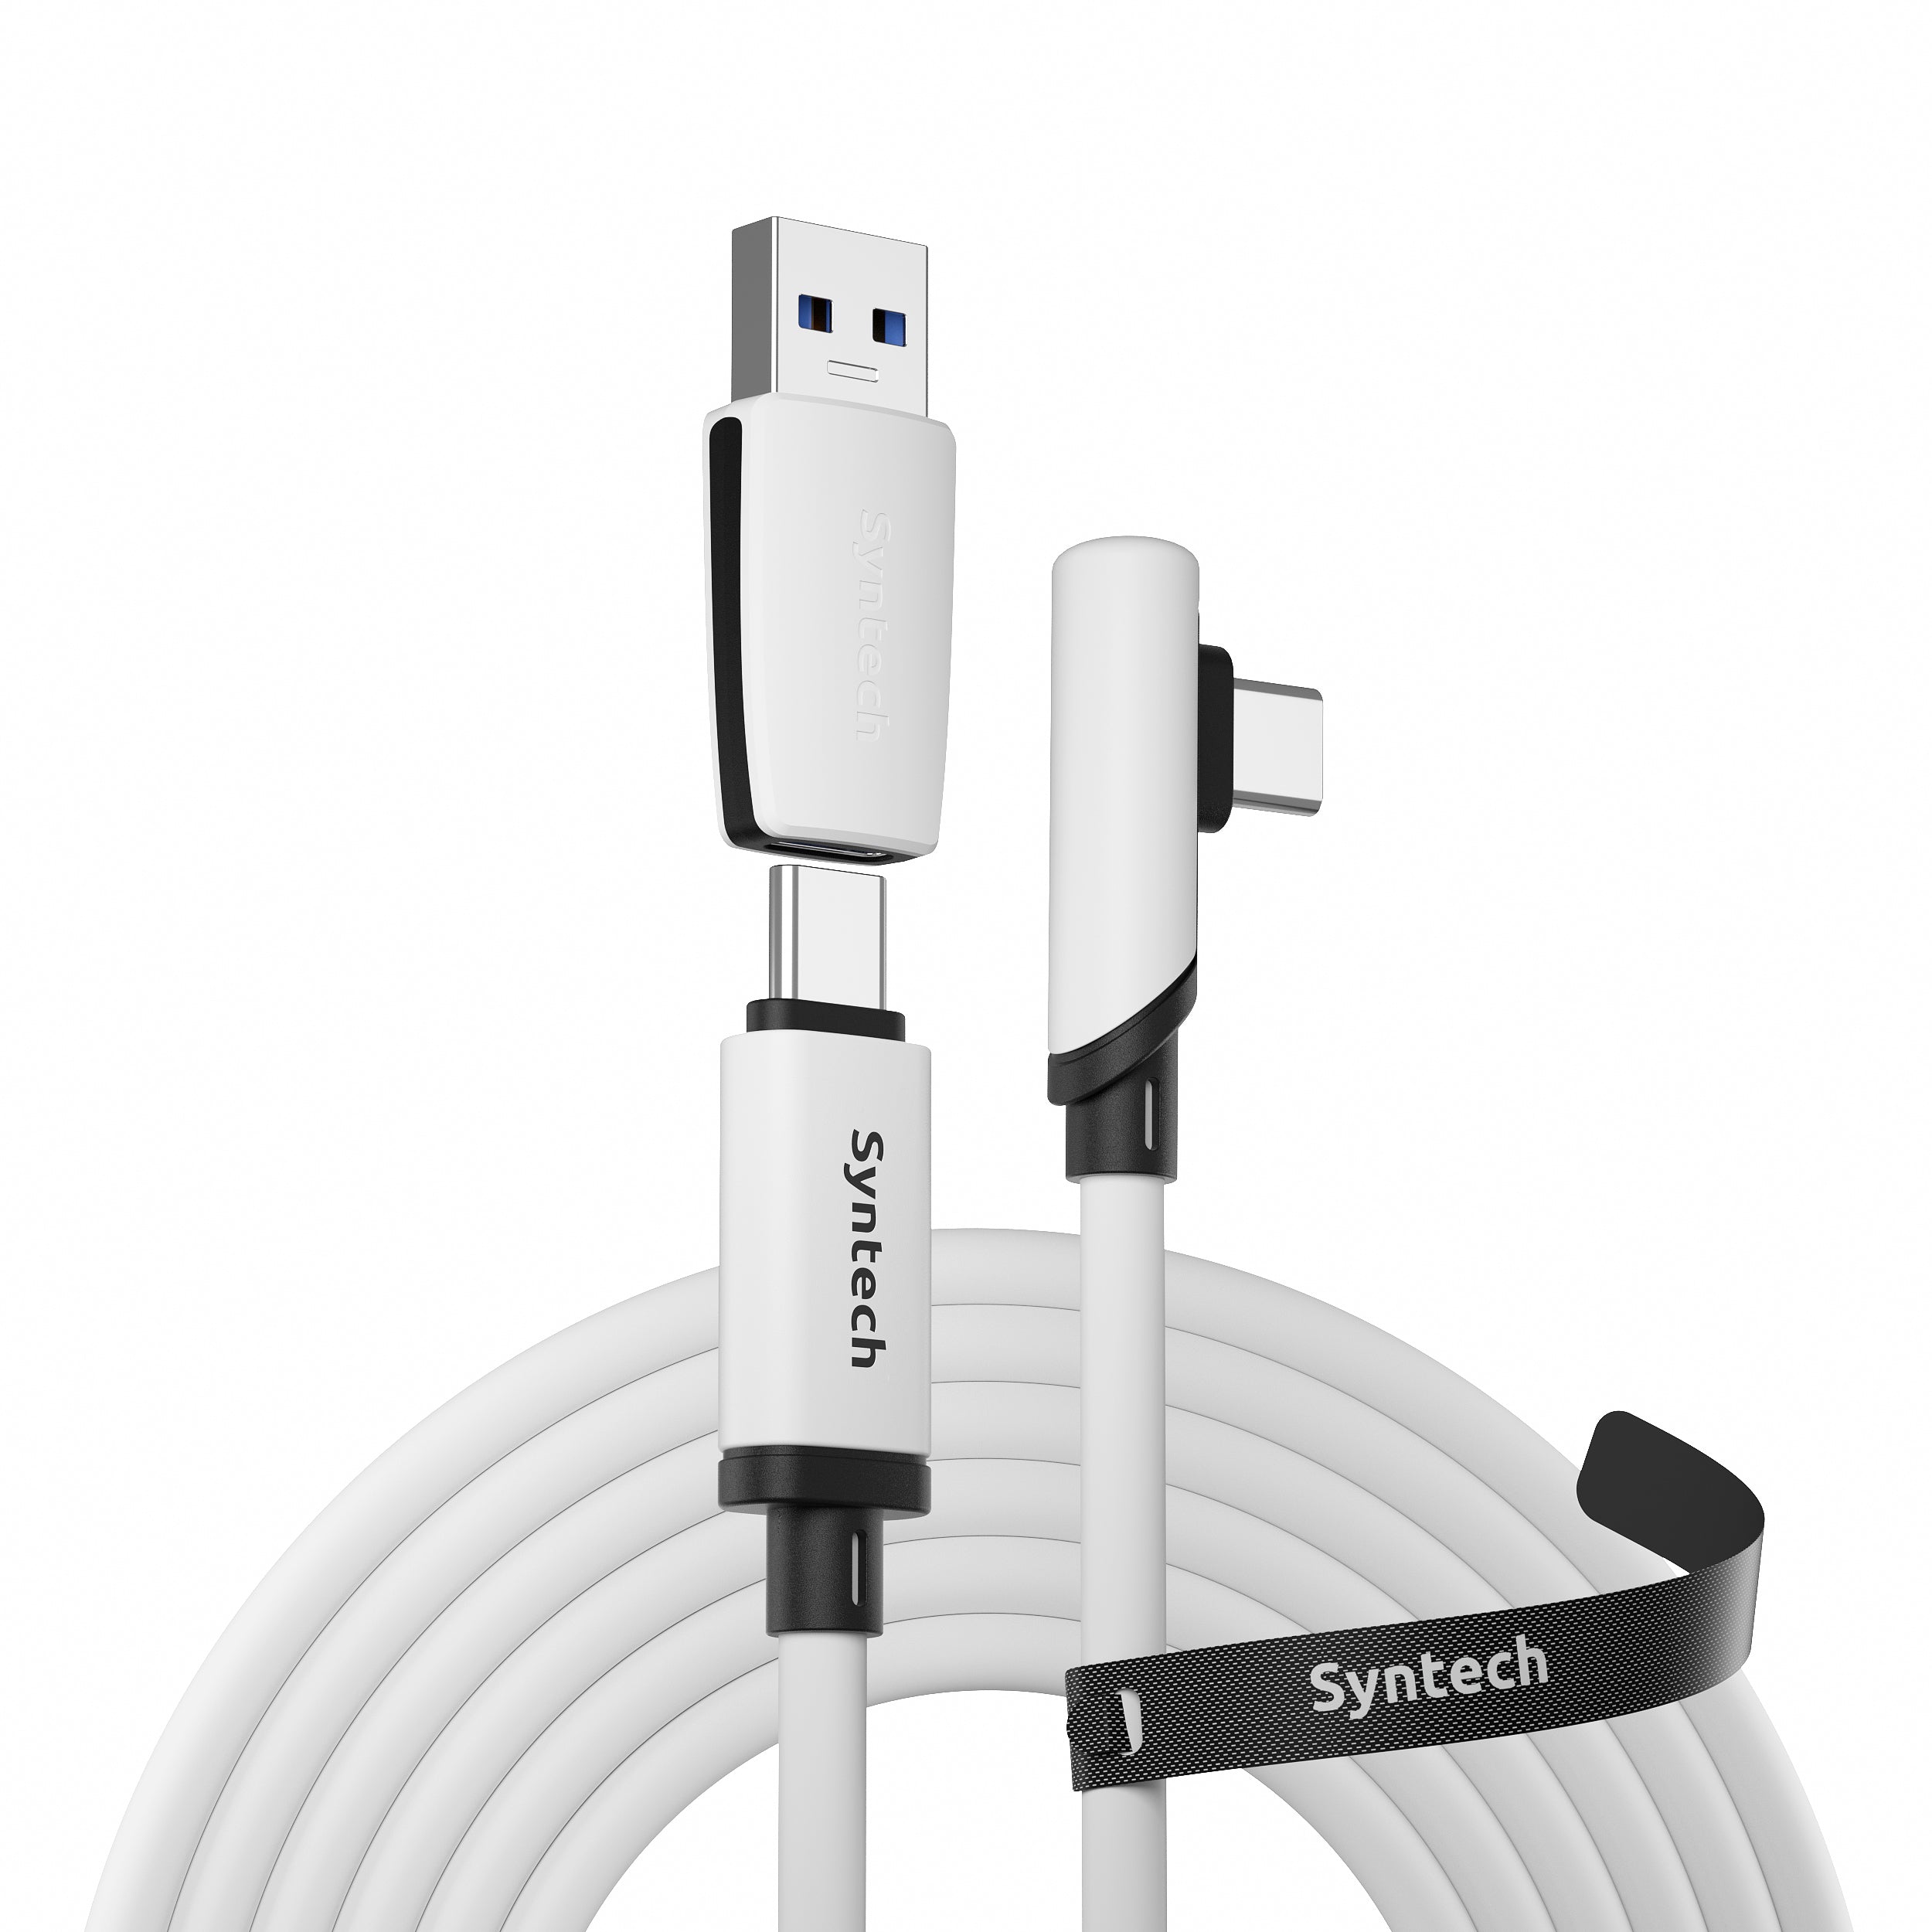
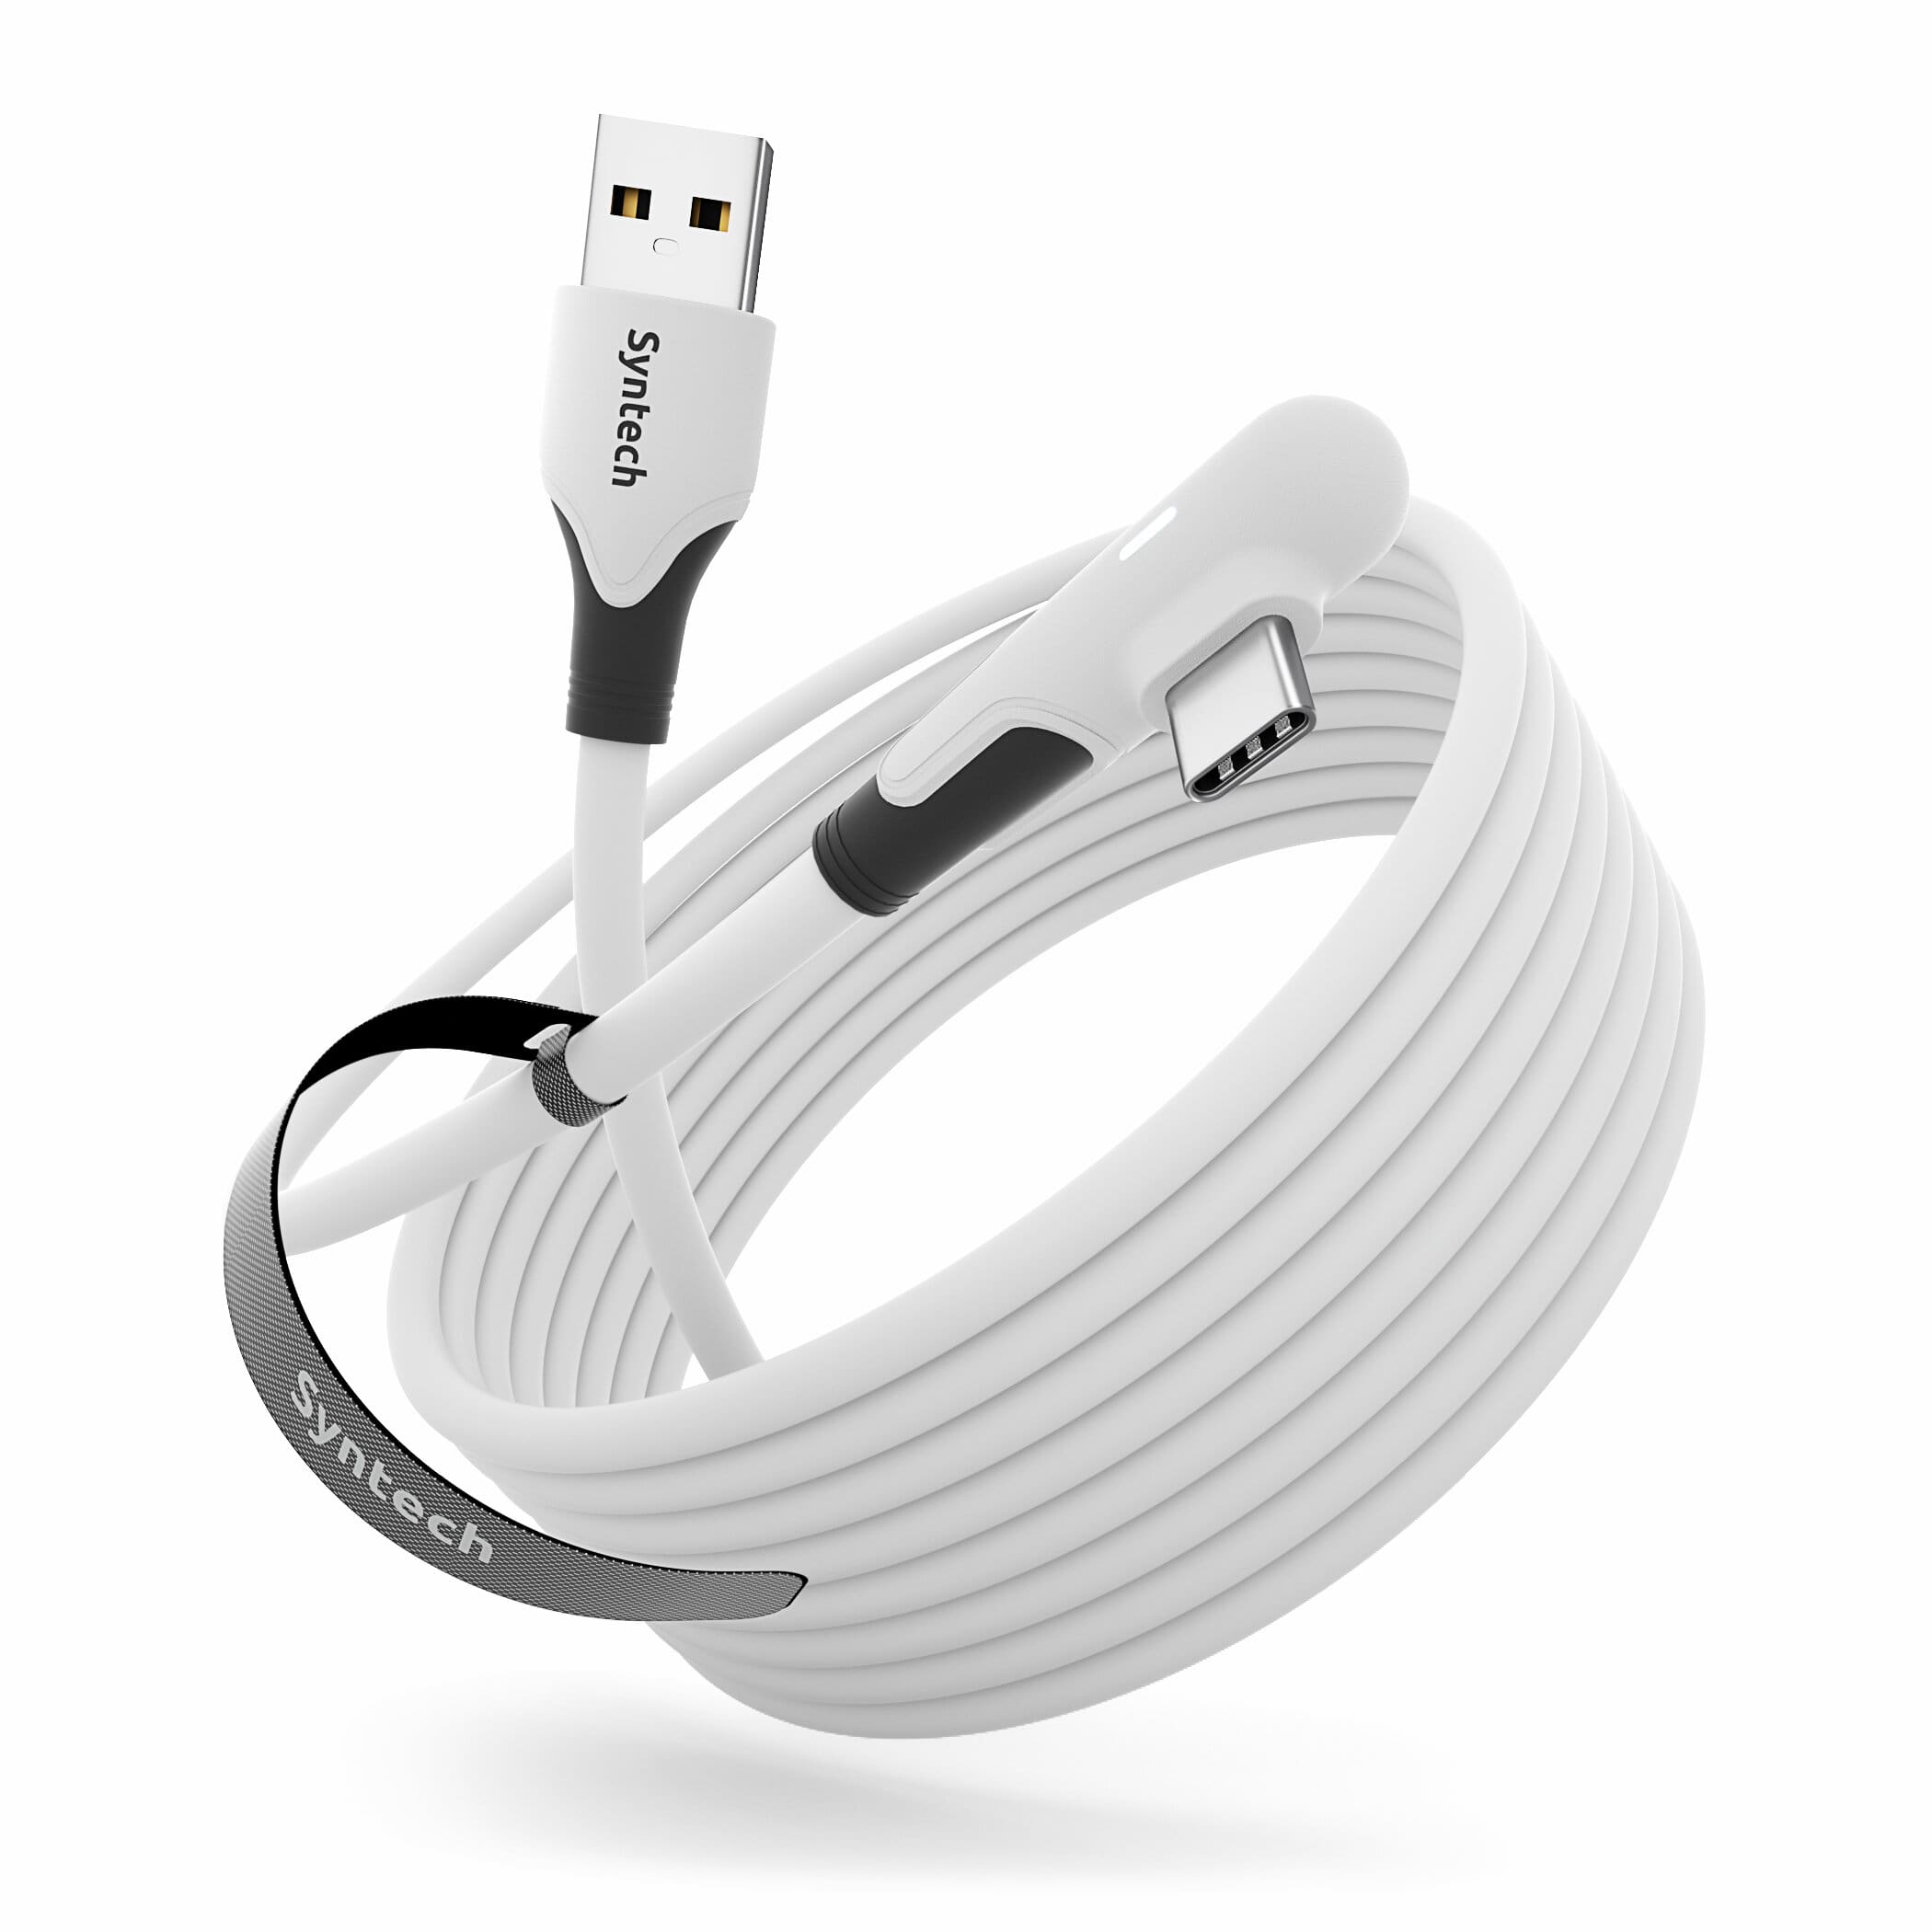
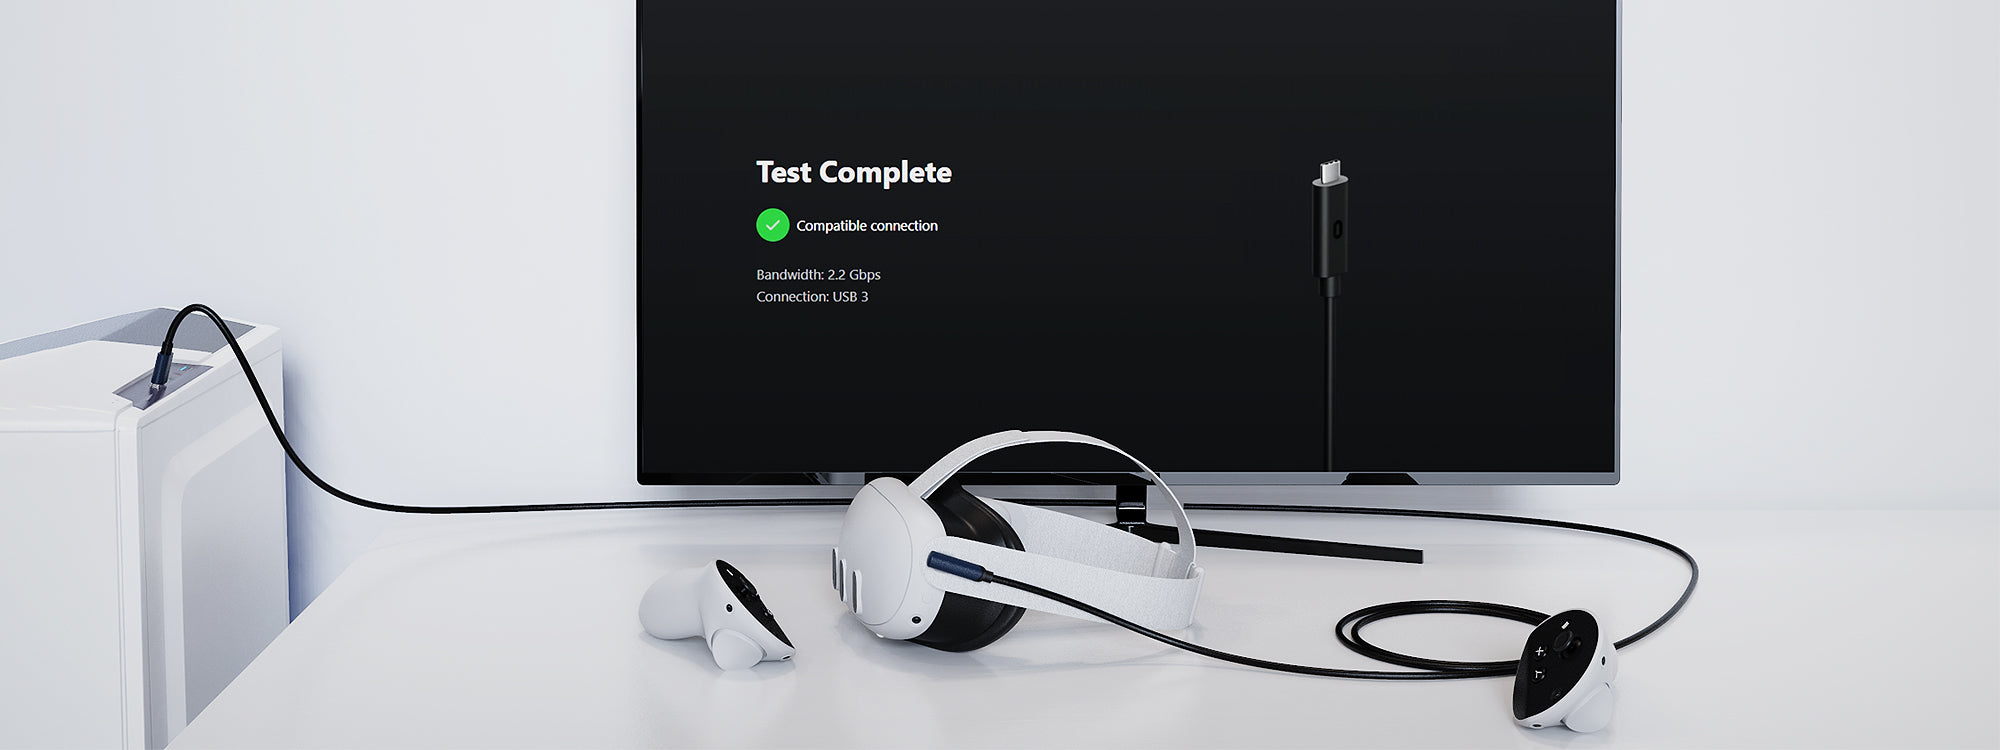
- Turn on your Quest 2 device. Plug the USB 3.0 or USB-C connector into a PC's USB 3.0 or USB-C port, then insert the right-angle USB-C connector into your Quest 2's charging port.
- Put on your headset. You should encounter a pop-up message: "Allow access to data. The connected device will be able to access files on this headset." Select "Deny."
Next, you'll see an option to "Enable Oculus Link." Select "Enable."
Attention:
1. Please handle the cable with care when plugging and unplugging it. Avoid pulling or applying excessive force. When disconnecting the cable from the computer, VR headset, adapter, mobile phone, etc., refrain from pulling on the wire body to prevent damage to both the cable and the interface.
2. When the data cable is not in use, store it naturally and avoid forcefully folding or bending it. Prolonged folding and bending can damage the PVC layer and aluminum foil shielding layer of the data cable, reducing its service life.
3. Keep the cable away from strong heat sources. Proximity to intense heat sources, such as a very hot mobile power supply, can cause thermal expansion and contraction, leading to wire damage and breakage over time.
4. Ensure protection against moisture and dust by avoiding placement in damp environments. The data cable's ports are susceptible to oxidation when exposed to water and dust, which can lead to short-circuiting and improper functionality. Proper maintenance is essential to prevent water and dust from entering the cable.
5. Avoid connecting the cable to the computer port when it is not in use. Even if not charging, internal components may be active and reduce output power.
Frequently Asked Questions
- Ensure that you are using a USB 3.0/3.1 port. Try different USB 3.0/3.1 ports on your computer, avoiding the use of hubs or adapters.
- Restart your VR device and close any related software on the computer. Reopen the software to establish a fresh connection.
- Update both the software version of your VR device and the software on your computer to the latest version. After updating, restart both the computer and the VR device to apply the changes.
- Ensure that the Air Link wireless connection is turned off before attempting to enable Quest Link.
- If it's your initial connection or there has been a significant gap between connections, please allow 1-2 minutes for the Quest Link interface to become available.
- Update both the software version of your VR device and the software on your computer to the latest version. After updating, restart both the computer and the VR device to ensure the changes are properly implemented.
- Ensure that your computer's graphics card driver and USB driver are up to date. Consider updating them to the latest version for optimal compatibility.
- Test the VR device on a different USB 3.0 port on another computer to determine if it functions properly. This can help identify whether the issue lies with the VR device or the computer's configuration.

